www.canva.com
Drawing a dragon can be a fascinating yet challenging experience for both beginners and experienced artists. The intricate details, majestic form, and powerful presence of dragons make them an ideal subject for artistic exploration. Whether you’re creating a mythical beast for a fantasy project or just want to improve your drawing skills, these tips and tricks will guide you through the process of mastering the “drawing:5z_boyjkm98= dragon” technique.
1. Understanding the Anatomy of a Dragon
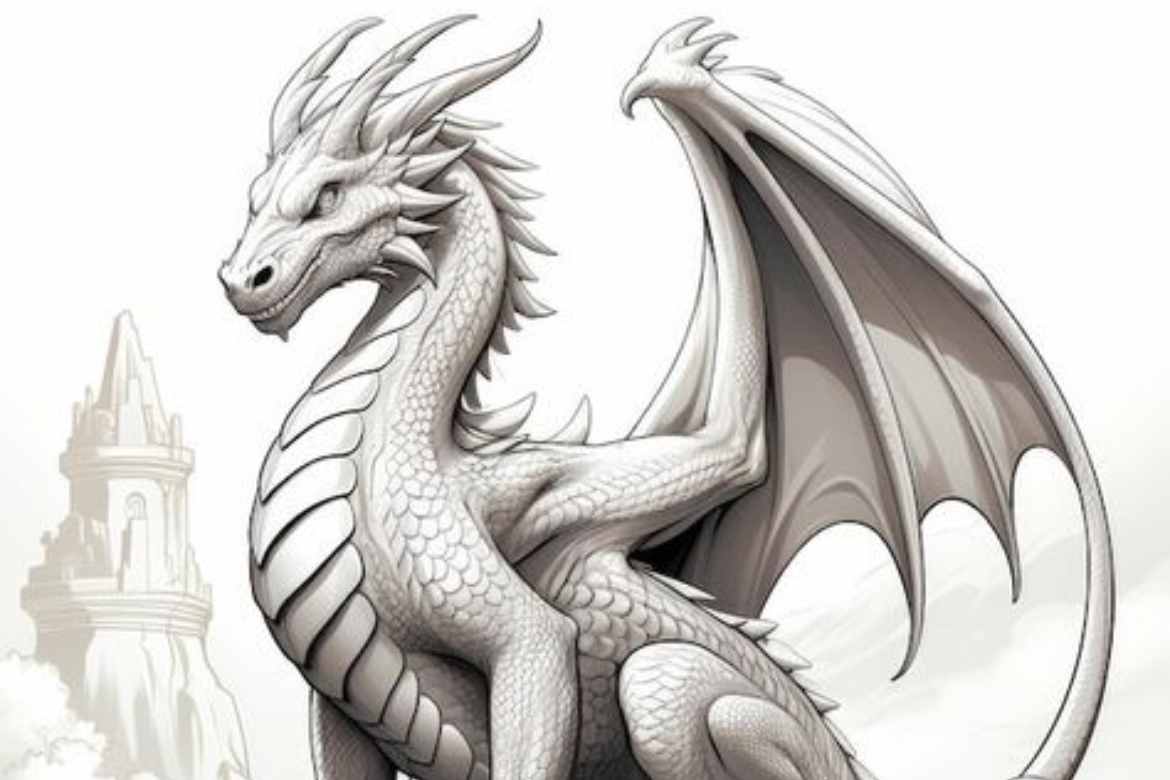
Before putting pencil to paper, it’s essential to understand the basic anatomy of a dragon. Dragons are mythical creatures, but they often share anatomical features with real animals like reptiles, birds, and even big cats. Focus on the following key areas:
- Head and Neck: Study the structure of reptiles like lizards and crocodiles. Dragons often have elongated necks, sharp teeth, and horns or spikes.
- Wings: Look at-bats and birds for wing anatomy. Dragon wings are usually large and bat-like, with a combination of muscle and bone structure.
- Body and Tail: The body can be sleek and serpentine or muscular and robust, depending on the type of dragon. The tail often tapers and may include spikes or fins.
- Limbs: Dragons typically have strong limbs with claws. Think of big cats or lizards for reference.
2. Choosing the Right Tools and Materials
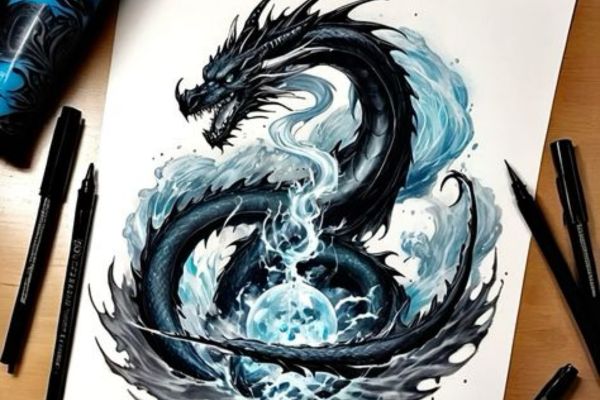
The quality of your drawing largely depends on the tools and materials you use. Here’s what you’ll need:
- Pencils: Start with light pencils like H or 2H for initial sketches and switch to darker ones like 2B or 4B for details and shading.
- Paper: Choose a medium-weight paper with a smooth texture to allow for easy shading and blending.
- Erasers: A kneaded eraser is perfect for lifting graphite without smudging your work.
- Blending Tools: Use blending stumps or tissues to create smooth gradients.
3. Starting with Basic Shapes
“When drawing a dragon, begin with basic shapes to outline the structure. This technique helps you maintain correct proportions and allows for easy adjustments, much like the approach used in drawing= basketball.
- Head: Draw an oval or circle for the head. Add guidelines to position the eyes, nose, and mouth.
- Body: Use a long oval or cylinder for the body, keeping in mind the flow of the spine.
- Wings: Sketch the wings with simple triangles or kite shapes.
- Limbs and Tail: Use cylinders and tapered shapes for the limbs and tail.
Once you have the basic structure, refine the shapes and begin adding more details.
4. Adding Details and Texture
Details bring your dragon to life. Focus on the following areas:
- Scales and Skin Texture: Decide on the type of scales you want to draw—whether they’re large and overlapping or small and smooth. Use short, curved lines to suggest scale texture.
- Eyes and Expression: The eyes are the focal point of any creature. Add depth by shading around the eyes and using highlights to create a reflective look.
- Horns and Spikes: Add horns, spikes, or ridges along the back, head, and tail to give your dragon a menacing appearance.
5. Mastering Shading and Lighting
Shading and lighting are crucial for creating depth and dimension. Consider the following tips:
- Light Source: Determine where the light is coming from and apply shading accordingly. Darken areas away from the light source, such as the underside of the dragon or behind the limbs.
- Gradients: Use gradual shading to transition from light to dark smoothly. This technique is especially important on curved surfaces like the dragon’s body and wings.
- Highlights: Leave areas unshaded or lightly shaded to create highlights, adding realism and a three-dimensional effect.
6. Final Touches and Refinement
After completing the main drawing, it’s time to refine your artwork:
- Outline: Go over your lines with a fine pen or darker pencil to make them crisp and defined.
- Blending: Smooth out any harsh transitions in shading using a blending stump.
- Background: Consider adding a simple background to enhance the composition. This could be a landscape, a cloudy sky, or a dark cave.
7. Common Mistakes to Avoid
Avoid these pitfalls when drawing a dragon:
- Overcomplicating the Design: Start simple and build up the details. Avoid getting lost in excessive complexity.
- Ignoring Proportions: Keep the dragon’s anatomy balanced. Misaligned limbs or disproportionate wings can make the drawing look awkward.
- Rushing the Process: Take your time to sketch, refine, and shade. Rushing can lead to mistakes and a less polished final product.
Conclusion
Mastering the “drawing:5z_boyjkm98= dragon” technique requires patience, practice, and attention to detail. By following these tips and tricks, you’ll be well on your way to creating stunning dragon artworks that capture the majesty and power of these mythical creatures. Remember to enjoy the process and let your creativity soar as you bring your dragon to life on the page!
FAQs
The best way to start is by sketching basic shapes to outline the dragon’s structure. Use circles, ovals, and cylinders to map out the head, body, wings, and limbs. Once the basic shapes are in place, you can refine the details, ensuring the proportions are accurate before adding texture and shading.
To improve shading, first determine the light source. Gradually shade areas that are farther from the light source to create depth. Practice blending to achieve smooth gradients, and use highlights sparingly to emphasize the dragon’s three-dimensional form. Experiment with different pressure levels on your pencil to vary the intensity of the shading.
For the best results, use a range of pencils from H (for light sketching) to B (for darker lines and shading). Choose medium-weight, smooth paper to allow for easy shading and erasing. A kneaded eraser is ideal for lifting graphite without leaving marks, and blending stumps or tissues are useful for smooth shading.


