www.canva.com
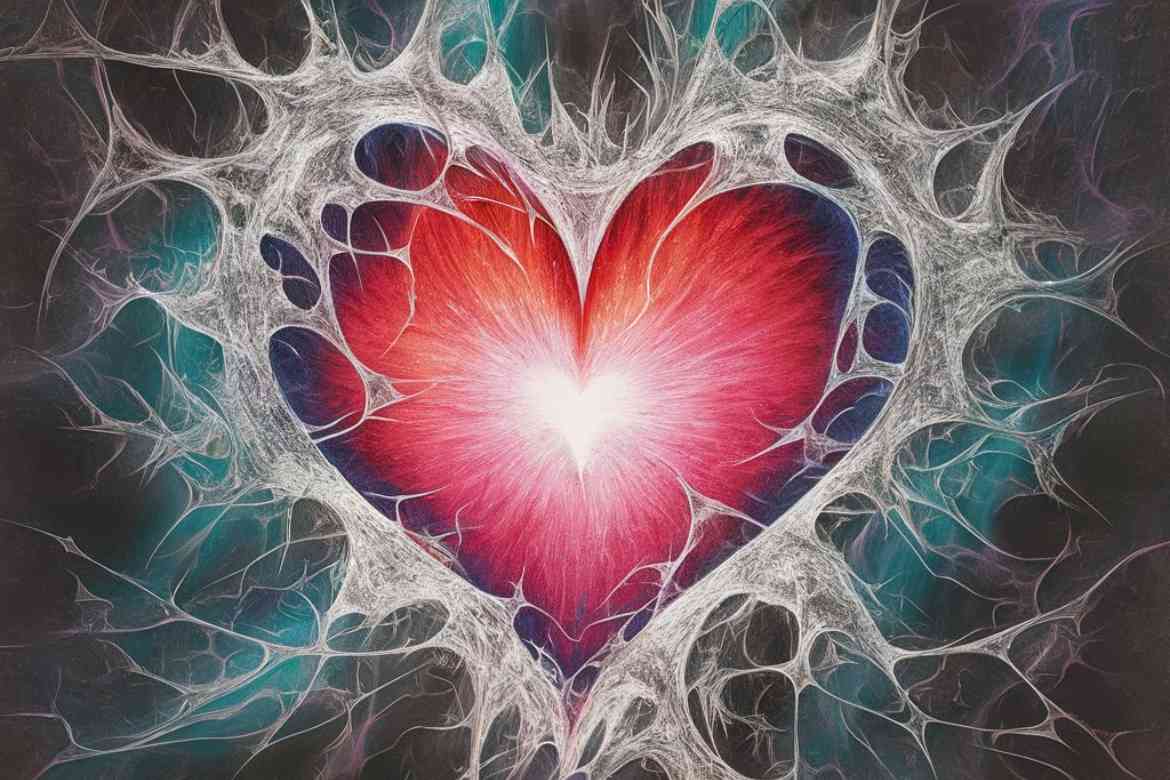
drawing:yw-tzomiaao= heart “Drawing= heart Innovative Line Art is a timeless skill that continues to captivate people of all ages. Among the myriad of subjects that artists choose to depict, the heart is one of the most symbolic and universally recognized. Whether you’re a beginner or an experienced artist, refining your skills in drawing a heart can be both rewarding and enjoyable. This guide will walk you through the process, providing tips and techniques to help you create a beautiful drawing= heart.”
Understanding the Symbolism of the Heart
drawing:yw-tzomiaao= heart Before diving into the technical aspects of drawing, it’s important to appreciate the symbolism behind the heart. The heart is a symbol of love, affection, and life itself. When you draw a heart, you’re not just creating a shape; you’re conveying an emotion or message. This understanding will enhance the quality of your work, as you’ll be more mindful of the expression you wish to portray.
Materials You’ll Need
To start your “drawing= heart,” you’ll need the following materials:
- Paper: Choose a quality drawing paper that can handle the medium you plan to use.
- Pencils: Use a range of pencils from HB to 6B for different shades and depths.
- Eraser: A soft eraser is essential for refining lines and removing mistakes.
- Blending Tools: A blending stump or cotton swab can help achieve smooth shading.
- Reference Image: If you’re aiming for realism, having a reference image is helpful.
Step-by-Step Guide to Drawing= Heart

1. Start with Basic Shapes
“drawing:yw-tzomiaao= heart Begin by lightly sketching the basic shape of the heart. Typically, a heart can be divided into two symmetrical halves. You can use a centerline to help guide the symmetry. Start with a simple outline, using light strokes so you can easily make adjustments, similar to how you would approach a drawing for drawing= cat.”
2. Refine the Outline
Once you’re satisfied with the basic shape, refine the outline by adding more defined curves. The top of the heart should have smooth, rounded arches, while the bottom should taper into a soft point. Pay attention to the proportions to ensure the heart looks balanced.
3. Add Depth with Shading
Shading is what brings your heart drawing to life. Determine where your light source is coming from, and start shading the areas that are in shadow. Use a blending tool to smooth out the gradients, giving the heart a three-dimensional appearance. Remember, darker areas will recede, and lighter areas will come forward.
4. Incorporate Details
If you’re aiming for a more realistic “drawing= heart,” consider adding details like highlights or even subtle textures that mimic the surface of a real heart. These details can enhance the overall impact of your drawing.
5. Final Touches
Review your drawing and make any necessary adjustments. Ensure the shading is consistent, and the lines are clean. If you’re using colored pencils, this is the stage where you can add color, keeping in mind the direction of your light source and the overall mood you want to convey.
Common Mistakes to Avoid
- Overworking the Drawing: It’s easy to get carried away, but over-shading or repeatedly adjusting the outline can make the drawing look muddy.
- Ignoring Light Source: Inconsistent shading due to a poorly defined light source can make the drawing appear flat.
- Lack of Symmetry: A heart is typically symmetrical, so take your time to ensure both sides are even.
Conclusion: Mastering the Art of Drawing= Heart
Refining your skills in drawing a heart is about more than just getting the shape right. It’s about understanding the emotion behind the symbol and conveying that through your art. With practice, patience, and attention to detail, you can create stunning heart drawings that capture the essence of what the symbol represents. Whether for a personal project or a professional piece, mastering the “drawing= heart” will enhance your artistic abilities and enrich your creative expression.
FAQs
You’ll need quality drawing paper, a range of pencils (HB to 6B), a soft eraser, blending tools, and a reference image if desired.
Determine your light source and shade the areas that fall into shadow. Use a blending tool to create smooth gradients for a 3D effect.
Avoid overworking the drawing, ignoring the light source, and neglecting symmetry. These errors can make the drawing look flat or unbalanced.


