www.canva.com
“drawing:plcxcsjeqpq= mushroom Mushrooms have always held a unique charm in the world of art. Their distinct shapes, textures, and colors make them an interesting subject for artists of all skill levels. Whether you’re a beginner or a seasoned artist, The Art of ‘drawing= mushroom’ can be both fun and rewarding. In this guide, we’ll explore the steps to create your own mushroom drawing using the ‘Drawing= Mushroom’ method. Let’s dive into the creative process!”
Understanding the Basics of Mushroom Anatomy
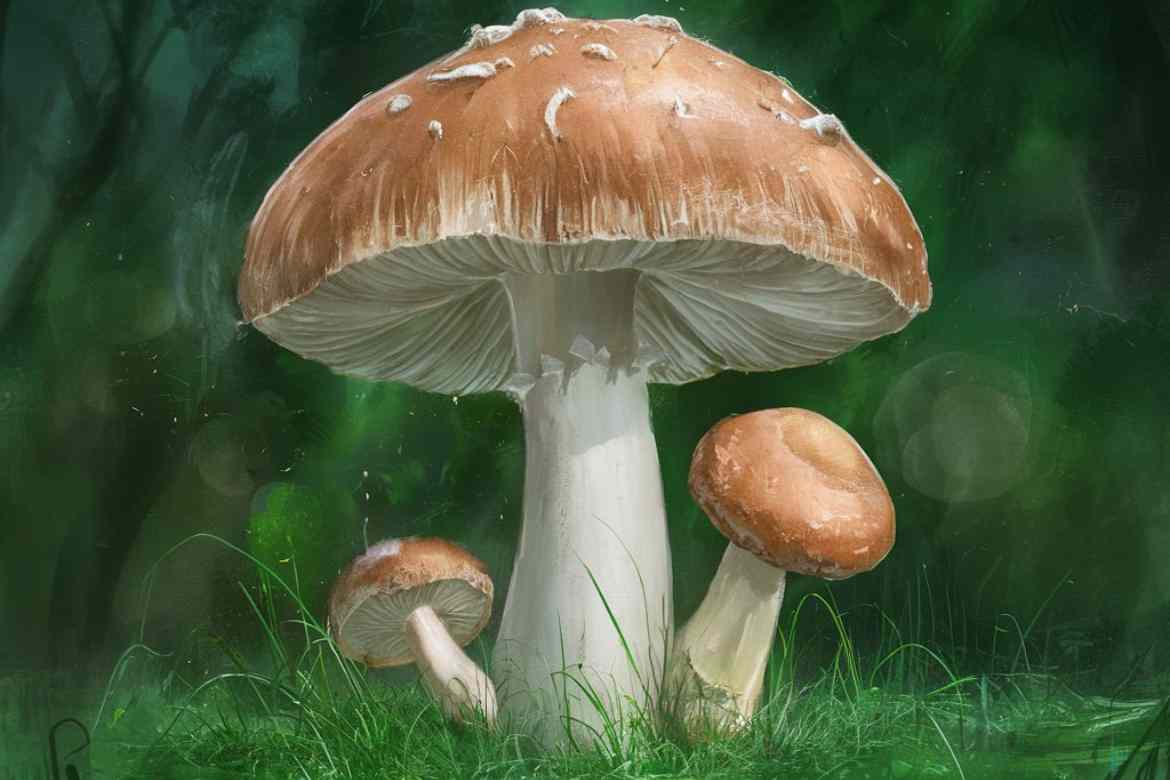
drawing:plcxcsjeqpq= mushroom Before you start drawing, it’s important to understand the basic anatomy of a mushroom. Typically, mushrooms consist of three main parts:
- Cap: The umbrella-shaped top of the mushroom.
- Gills: Located underneath the cap, where spores are produced.
- Stem: The cylindrical part that supports the cap.
By grasping these fundamentals, you’ll have a better foundation to create a realistic and detailed mushroom drawing.
Gathering Your Art Supplies
To get started with your mushroom drawing, you’ll need a few basic supplies:
- Pencils: A range of pencils from H (hard) to B (soft) for different shading effects.
- Paper: High-quality drawing paper that can handle erasing and shading.
- Eraser: A kneaded eraser for correcting mistakes.
- Blending Tools: Blending stumps or cotton swabs for smooth shading.
With these tools at hand, you’re ready to bring your mushroom drawing to life.
Step-by-Step Guide to Drawing a Mushroom

1. Sketch the Basic Shape
“drawing:plcxcsjeqpq= mushroom Start by lightly sketching the basic shape of the mushroom with an HB pencil. Draw a curved line to represent the top of the cap, then add the stem beneath it. Keep your lines light so that you can easily erase and adjust them as needed, similar to how you might sketch a banana= monkey.“
2. Define the Cap and Stem
Once you have the basic shape, refine the outline of the cap and stem. Add details such as the curved edges of the cap and the thickness of the stem. You can also sketch the gills underneath the cap if your mushroom design includes them.
3. Add Texture and Details
Mushrooms are known for their unique textures. Use your pencil to add texture to the cap, such as small dots or lines that mimic the natural patterns found on mushrooms. Don’t forget to add subtle lines to the stem to give it depth.
4. Shade for Depth and Dimension
Shading is what brings your mushroom drawing to life. Identify the light source in your drawing and add shading accordingly. Use a soft pencil (such as 2B or 4B) to create shadows on the cap and stem. Use a blending stump to smooth out the shading for a more realistic effect.
5. Final Touches
Once you’re satisfied with your drawing, review it for any final adjustments. Erase any unnecessary lines and add highlights to the cap and stem to make your mushroom look more three-dimensional.
Creative Ideas for Enhancing Your Mushroom Drawing
If you want to take your mushroom drawing to the next level, here are some creative ideas:
- Add Color: Use colored pencils or watercolor to add vibrant hues to your mushroom.
- Create a Mushroom Scene: Draw multiple mushrooms together, or add elements like grass, leaves, or a forest background.
- Experiment with Styles: Try different artistic styles, such as cartoonish, realistic, or abstract, to give your mushroom drawing a unique twist.
Conclusion
Drawing mushrooms using the “Drawing
= Mushroom” method is a fantastic way to practice your artistic skills while enjoying the beauty of nature. With patience and creativity, you can create stunning mushroom artwork that showcases your personal style. So grab your pencils and let your imagination guide you through this creative journey!
FAQs
The “Drawing= Mushroom” method is a step-by-step approach to drawing mushrooms, focusing on the basic anatomy, shading, and texturing techniques to create realistic and detailed mushroom art.
To begin, you’ll need pencils (ranging from H to B), high-quality drawing paper, a kneaded eraser, and blending tools like stumps or cotton swabs.
Start by sketching the cap with a curved line, then draw the stem underneath. Keep the lines light so that you can easily make adjustments.


